Monday 30 September 2013

Cheap & Nasty Scratchbuilt Terrain - 30 minute Plaster Undersea Volcanoes/Thermal Vents

This technically was longer than 30 minutes due to the plaster drying but since the wife, not me, did this it counts as under 30 minutes. In fact this took me 0 minutes to make. Nice!

The wife made a base of foamboard (MDF would have been better in hindsight) and "built it up" with chunks of foamboard.  The plaster of paris step is simply like playing with mudpies. After a wait for it to dry, a very quick splash of paint later, and voila, undersea volcano!

In my submarine fighter game the heated water from the thermal vents will interfere with targeting and missile locks, providing "cover" of sorts

Apart from replacing the foamboard base with MDF, the main other change would be to touch up the paint job a bit. Since it took me 0 minutes to build, I don't care, though!

Sunday 29 September 2013

Supersonic Subs, Airships and more Terrain Building

Here's two tables where I am using my 30-minute scratchbuilt terrain.

Here's a more "traditional" aeronef dock. 

The aeronef aerial dock was my latest 30 minute project - to go with the "submarine pen" style aeronef base made of packaging.

I made it of balsa wood - I got a pack of pre-cut balsa for $7 from my local hardware store.\

With all this terrain spouting from my 30-minute projects, I needed some more tables. I'm a fan of pre-cut 3ft x 4ft MDF.  It's very light and easy to move around.

I glue a strip of pine down the sides to stop the MDF bending out of shape.  As you can see from the top picture, the strip also allows it to be turned into a sand table with the addition of a single bucket of sand.
This has the advantage of making a single skirmish table, or if you flip them over and shove two together, a single "standard" large 6ft x 4ft table.

I used some 1:300 Brigade Models sci fi buildings as a stopgap VSF desert town.

I'm experimenting with using the General Quarters 3 rules mixed with my own homebrew add-ons as I dislike the million hitboxes and dice-chugging random blandness of the "official" Aeronef rules.

The other table is my own homebrew rules - "SuperCav" - near future sub warfare beneath alien oceans.  The normal cat-and-mouse of the current modern era of sub warfare can be varied by dogfights between "supercavitating" sub-fighters  which use rocket engines to travel at 500kph+ "flying" inside their own gas bubble.


Some rocket fighters patrol past an undersea refinery


A transport sub undocks from a undersea habitat, escorted by two fighters

Yes, it's just spraycan caps and plastic aqarium plants, but the table, simple as it is, is "unified" by a common theme - and it took only a hour to make....

I also know my next 30-minute terrain challenge - building undersea volcanoes and thermal vents, as well as "contoured" undersea mountains...

Friday 27 September 2013

Cheap & Nasty Scratchbuilt Terrain: Spraycan Lids = Undersea Base

I need some undersea terrain for the home-brew sub rules I am tinkering with.

I decided on some undersea bases and a kelp forest, with undersea mountains to come later once I decide how I want them to work in-game.

Spray can lids and plastic aquarium plants - we're set!

I wanted some cylinders or domes as they seem undersea-y shapes, and I noticed the top of my spray cans fit the bill.  A quick hunt round the shed revealed some silver-painted film canisters which were already doing duty as sci fi steel drums, as well as some other silver-painted cylindrical containers from the craft shop I stole liberated from my wife to turn into nuclear waste tanks.

A visit to the kitchen yielded some straws - I mean, transit tubes, to connect the undersea habitats.  A note on straws - not only are the bendy ones good for bending, as the name suggests, but if you are a bit casual with measuring, they can be extended or contracted to fit.  See how the red straw has been extended to be longer than the green straw.

I already had some aquarium plants - but my wife had taken them to use in the actual AQUARIUM - how ridiculous.  So I had to go buy some more and at $3 for 3 they were my most expensive purchase.

Again, it's probably obvious from the photos what I did, but here's the breakdown:

1. Superglue spraycan lids to pre-cut MDF boards ($1.50 large, 70c small)
2. Attach film cannisters and connect drinking straws with a dab of superglue
3. Cut cheap cardboard jewel box (50c) and attach film cannister

To fit things snugly to curved surfaces, trace the curved shape onto the object before cutting...

4. Brush PVA glue onto the bases and then sprinkle with sand
5. Remove excess sand off thoroughly!  I.e. bang the whole MDF board down hard, blow off loose sand, etc. Or you could regret it....
6. Undercoat everything with black spraypaint
7. Spraypaint the base itself with grey primer
8. Unfortunately we need to use a brush here. ..mutter mutter...  Generously dab on some el cheapo black craft glue to cover the grey overspray that went on the base

Disaster
After about #7, I banged the model down hard. This loosened some excess sand I hadn't cleaned off thoroughly before at #5, which promptly flew in the air and stuck to the wet paint on the outside of the buildings. My initial attempts to fix this simply made it worse, turning the base into a paint-and-sand sludge which went everywhere. I had to scrape back lots of sand and repaint the base black again. This took 30 minutes and put me waaay over my time limit.

The aquarium plants are simply rebased onto pre-cut MDF, with a black-painted sand base

Aren't they EM4 spacefighters, you ask? Actually, no, they are supercavitating fighter submarines that "fly" underwater at 200kts+ using rocket engines...

You can see the sand that flicked up all over the buildings from the "disaster" moment....

If it wasn't for the "disaster" moment this would all have been completed in under 45 minutes like I was aiming for. I went for black bases as I presume it will be rather dark at the bottom of the ocean. 

 The buildings could do with more detail - perhaps add portholes and make the connecting tubes a different colour.

I'm reasonably satisfied with the end result although I could add lots more detail.  Portholes on the buildings and rocks on the base would be simple and quick additions.  Total cost was $6 - $3 for the plastic plants, and $3 for all the pre-cut MDF bases. Due to the issues with the loose sand on base, I blew out my time limit by 30 minutes, almost double the 45 minutes I allowed myself.  

Next visit to the hardware store, I'll get some small polyurethane piping (the sort they use for pop-up sprinkler systems) and make myself an undersea oil pipeline for the subs to attack or defend. 

Cheap & Nasty Scratchbuilt Terrain: Packaging = Aeronef Hangar/Bunker

Many people say terrain building guides are inspirational. They aren't actually. They're more aspirational. They are usually so amazingly professional and detailed, I go "I wish I was that good" or "I wish I had that much spare time" and don't even attempt it.

My goal here is to make stuff people go "heck, I could easily do better than that dude!" or "I could do x instead."  As usual, the aim is to spend 30 minutes or less on the building or terrain piece, from start to finish.

Packaging
I bought some plastic aquarium plants for my new sub game (more on that later) and as I was about to throw out the packaging I thought... I wonder if I could make something out of it?  The molded plastic that packages everyday items comes in some weird and wonderful shapes.  

This package looked a bit bunker-like. I tossed up whether to build a 15mm sci fi bunker to go with my existing scratch built 15mm stuff but I have been busy painting my aeronef fleets today and I'd like some accompanying terrain.  Inspired by the U-boat pens, I decided to build an "aeronef base."

This was my inspiration.

This was what I had to work with. Besides the packaging (free) I used a pre-cut piece of MDF from Bunnings which cost me $1. I also grabbed some packets of pre-cut balsa wood from their craft aisle which also cost about $1.  Total cost - $2.

Spray Paint - A Scatch-Builder's Friend
When scratch building, can I underline the importance of paint?  A coat of paint can transform random objects into an interesting piece of wargaming terrain. In fact I'd say the ability to look at an unpainted object and go "ah, this could be x with a coat of paint" is THE key skill in scratch building.  You can lovingly handpaint stuff, of course, for some lovely effects - or, like me, you can casually spray the terrain with $2 cans, and cut your terrain-building time to minutes, instead of hours.  

From A to Z
It's probably obvious from the finished photos, but here's what I did
1. Sprayed the plastic packaging grey
2. Cut out doors and roof hatches
3. Glued the cardboard backing to the doors and roof hatches and painted them silver
4. Sprayed the MDF base blue and added some "waves" as the water looked a bit bland
5. Made a cardboard "dock" and sprayed it grey
6. Glued everything into place
7. Brushed PVA glue around the sides, and sprinkled beach sand on top (sieved with my wife's flour sieve to remove impurities...)
8. Sprayed some balsa pieces brown and glued them to the dock as buildings. Pro tip: The spray will blow small balsa pieces everywhere (*cough* of course I didn't do this) unless you blu tac them down.


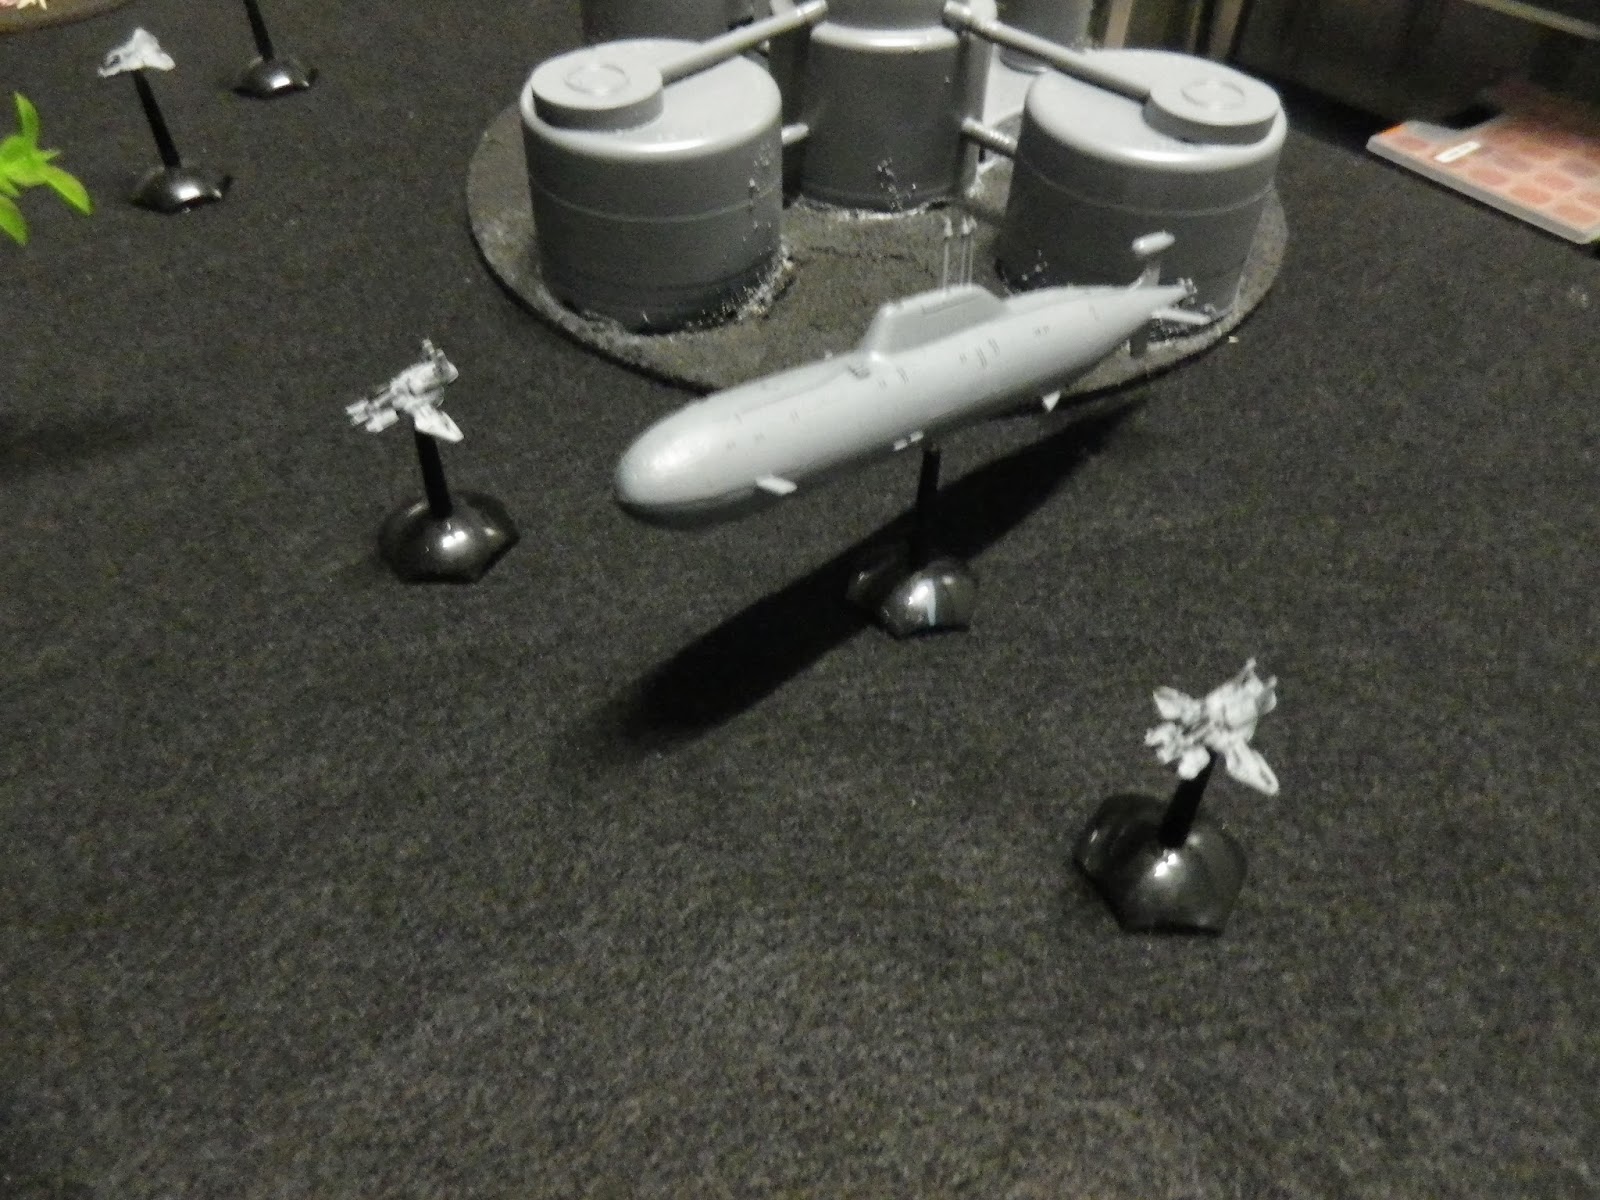
This is the completed aeronef pen.  I kinda envision aeronefs needing to land on water as they have boat shaped hulls, and I'm sure a water landing would place less stress on the hull.


The balsa wood "buildings" look OK from a distance and make the building less bland.  You can see the glue hasn't dried - I tend to cut corners and work with things not fully dried in order to finish under my self-imposed time limit.

A aeronef frigate coming in to land in the outside dock.  I'm going to do a raid on the nef base rather like the WW1 raid on the Cuxhaven zepplin sheds.

As usual, it took 30 minutes, from concept to full completion.  Yes, it is pretty rough. Yes, I didn't even use a ruler.  But I'm adhering to my 30 minute deadline pretty strictly (I actually made this while waiting for the glue on another project to dry).

The packaging would also make a decent 15mm bunker as well and I'm tempted to do it with my other packet.  Anyway, I hope I've inspired someone to look at packaging in a new way.

...rips open parcel - throws away miniatures - excitedly takes packaging off to the workbench...